What to Expect During a Commercial Roofing Project
Commercial roofing projects follow a structured process—starting with condition assessment and ending in code-compliant installation. Understanding each stage helps property owners prepare for costs, minimize disruption, and extend roof lifespan, especially in Central Pennsylvania’s variable climate.
Equity Roofing uses a step-by-step approach to deliver roofing systems that meet performance standards, safety codes, and building-specific needs.
Step 1
Request and Inspection
From county facilities and schools to industrial parks and retail centers, we provide commercial roofing solutions tailored to Central PA’s weather, building codes, and infrastructure needs.
Includes:
Full roof walk-through and visual inspection
Grade assigned based on current condition
Photos and notes documenting damage, wear, or water entry
Evaluation of drainage, seams, insulation, and flashing
Step 2
Specifications and Recommendations
If the building doesn't come with an existing spec sheet, we work with the roofing materials manufacturer to develop one that meets performance and warranty goals. Based on your roof's grade and usage needs, we provide system recommendations and outline repair, restoration, or replacement options.
Includes:
Creation of custom specifications (if not provided)
System options: TPO, EPDM, PVC, metal, coating
Repair vs. replacement comparisons
Warranty types, energy efficiency, and expected lifespan
Step 3
Proposal and Contract
Once specifications are approved, we prepare a proposal with detailed pricing, scope, warranty coverage, and materials. A signature and 25% deposit are required to move forward.
Includes:
Written proposal with scope, specs, and pricing
Warranty details from material manufacturers
Contract agreement and deposit to initiate the job
Step 4
Scheduling and Mobilization
After contract execution, your project is scheduled. Your initial deposit is applied to the first invoice issued after mobilization. We coordinate staging, materials delivery, and access plans.
Includes:
Job added to the production schedule
Material orders and crew scheduling
Pre-construction coordination with building staff
Step 5
Installation and Finalization
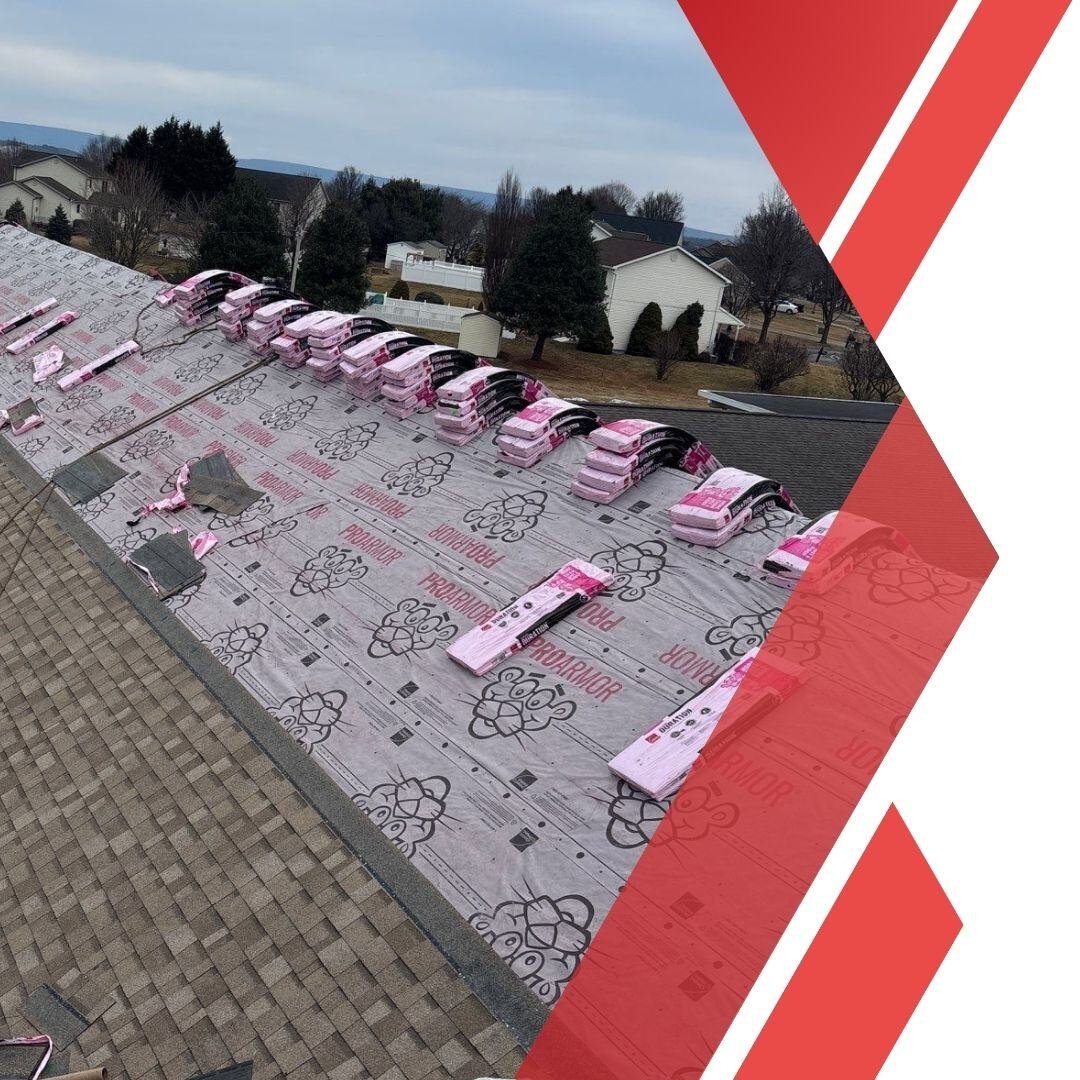
Our OSHA-trained crews install the system according to manufacturer and code requirements. Invoices are issued based on key milestones. Upon completion, we provide final documentation, warranties, and post-project support.
Most site visits take about 1–2 hours depending on roof size and accessibility. We’ll walk the full surface, document conditions, and answer any questions on the spot.
You’ll receive a warranty packet, photo documentation, and maintenance guidance. We’re also available for annual inspections and ongoing service if needed.